-
Homestead
I have sold my house, and am now revealing my 10-year homesteading plan towards my dreamhouse and retirement.Updated 1 month ago
Menu:
Decor + Design + Art and Finishings:
Sustainability:
Infrastructure:
Stage 0, Leaving Tattersal:
- Get Legal Work Done
- Get Home Owner Builder License
- Arrange Power
- Pack Everything into my new Storage Trailer
Stage 1, the Basics:
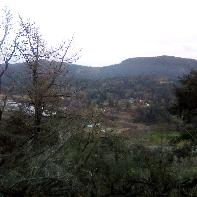
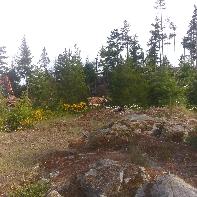
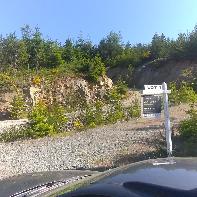
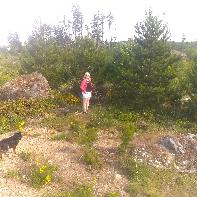
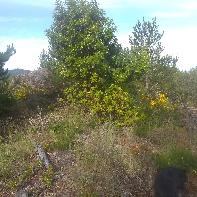
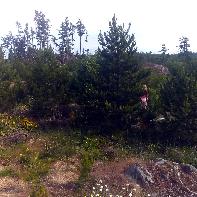
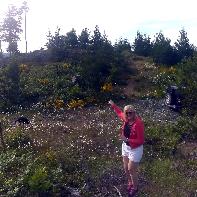
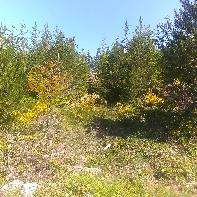
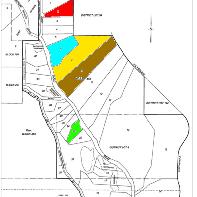
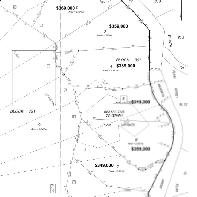
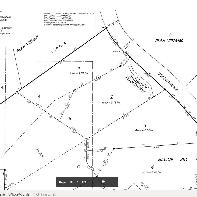
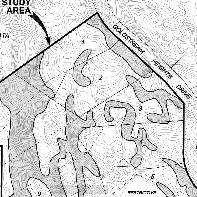
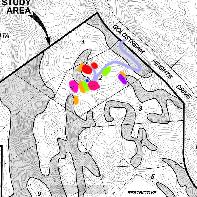
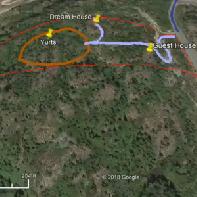
It begins with purchasing a 5-acres of virgin-land in Goldstream Heights.- Immediately moving temporary into Amanda's Camp trailer
- Build a 100sqft well house, run powers lines from road, and septic system over 5-7 days.
- Get Septic system started.
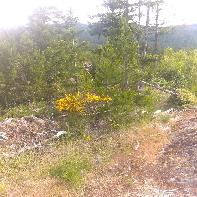
- Clear Problem Weeds.
- Get Building Plans Approved.
- Have Phase 2 Supplies Delivered.
Stage 2, the Dream House:
Then construction on the Dream-House begins.- Building Supplies, Appliances, Windows, Wood, Large Tools, etc would be collected during this time.
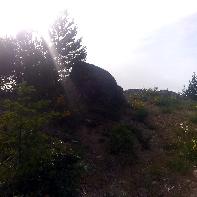
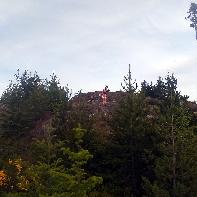
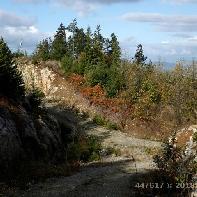
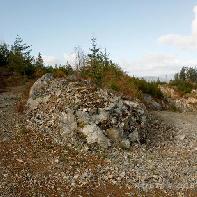
- Scrape the Dreamhouse rocky outcrop to prepare it for footings
- Install one to three water sisterns.
- Get Leif to drop off 20 dump truck loads of materials (described below).
- Prepare footing plan with Draftsman cousin Daniel.
- Apply for building permits (Construction, Electric, Septic, Plumbing).
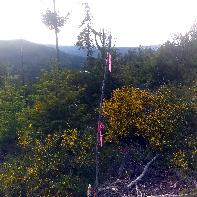
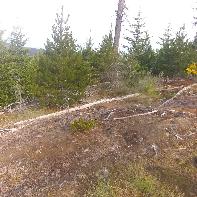
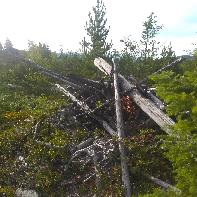
- Clear the Land of ground-fall (dead trees) and Label property lines.
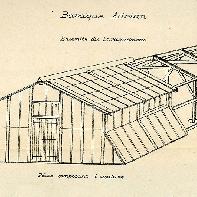
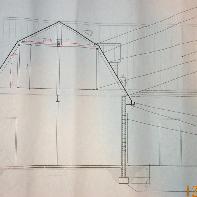
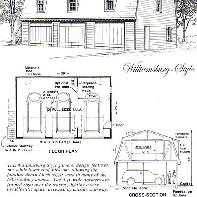
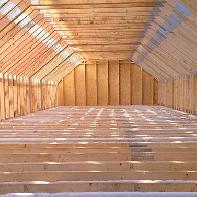
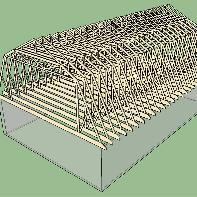
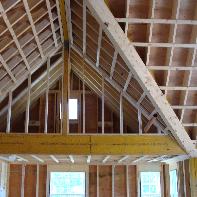
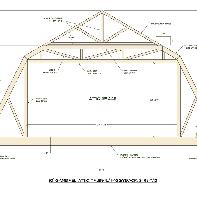
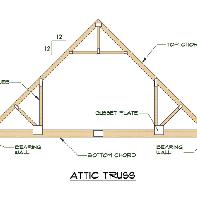
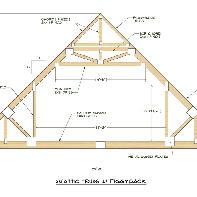
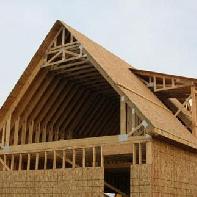
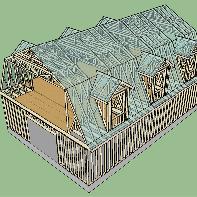
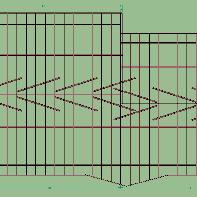
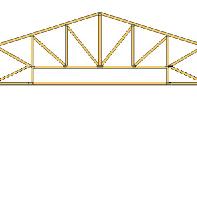
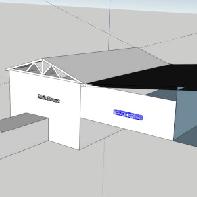
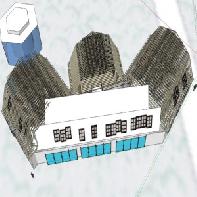
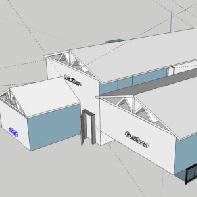
- Based on 26-foot strandard roofing truss design--the key to the simplicity, and reduced budget.
- They allow for a very-open floor concept, and massive rooms with quick, repeatitive construction techniques.
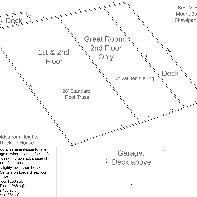
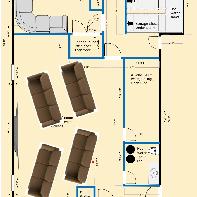
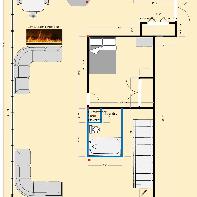
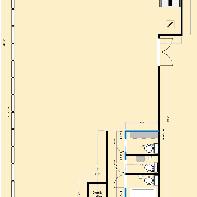
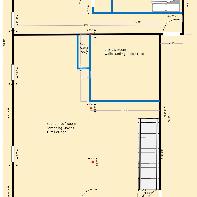
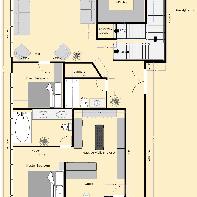
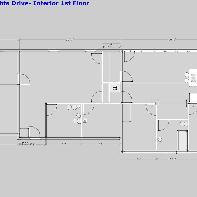
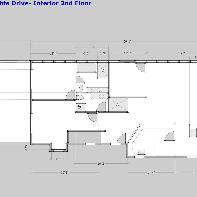
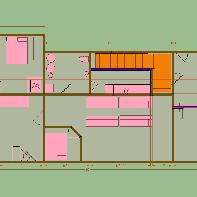
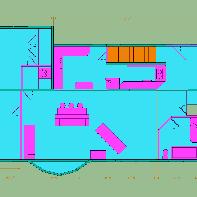
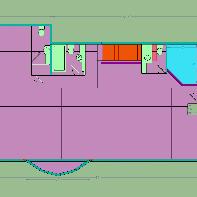
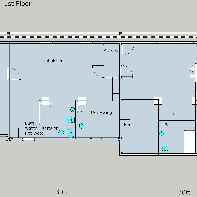
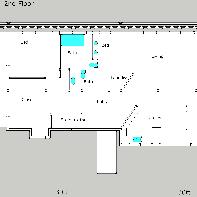
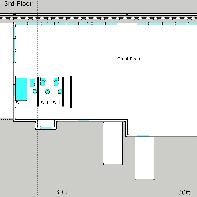
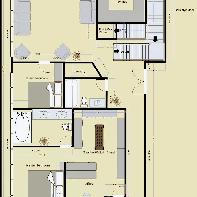
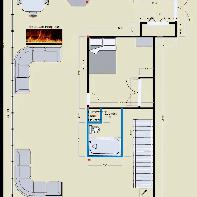
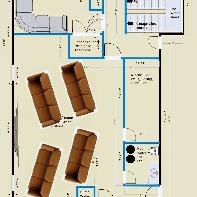
- 2200sqft. 6 bedrooms, 5 bathrooms, 2 laundry, 2 kitchenettes, one HUGE kitchen, 3 exterior entrances.
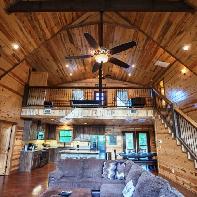
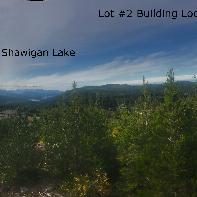
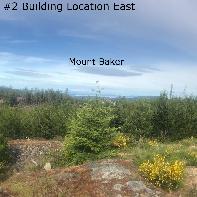
- A 1200sqft central Great-Room facing north toward the lake, ocean and Mt Baker views.
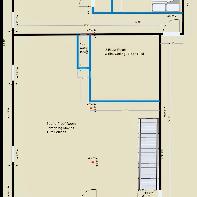
- Slightly below will be an Extra-large attached (550sqft) garage+Storage (with deck on roof).
- Rent out Yurts, and get a few roommates in the interm.
Stage 3, the Guest House:
Now that we have rental income coming in, we build a second space.- 2500sqft. 4 bedrooms, 3 bathrooms, 2 kitchens, storage garage
- Located at front of property on rock facing Mt. Baker.
- Large Grid-tied Solar Array
End Goal + Motivations:
- Room to Play, Relax, and do Projects
- A venue to hold large parties, (with sleeping-space for 20 temporary guest).
- Never pay a mortage again.
- Becoming self-sustaining, green, and self-sufficient.
- Rental income from Guest House, Air B+B, and Special Event Rental of Home.
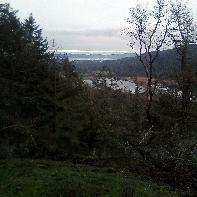
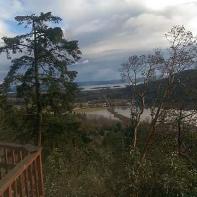
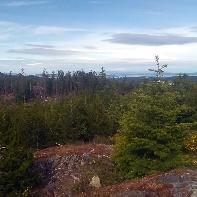
- Beautiful Views of Shawnigan Lake, Mt Baker, and Gulf Islands.
- Very Few Monthly Expenses / Bills.
- A forever home.
Questions in Videos:
Is building a post-frame building an option for building code?4,000sf Post Frame House
Can I build my reserve leach field now?
Installing Septic
Old Videos:
Lot
Basic Design
Old #1
Old #2
Old #3
Gambrel Pics:
Johns Cabin Pics:
OTHER Goldstream Pics:
OTHER Goldstream Pics:
Other Old Pics:
Potential Suppliers:
- RIP-OFF Shipping Containers: Copper Canyon Containers
- Chinapumach Sprayfoam Gun
- SDChinaMachine Excavators
- BarrysBees Bees
- Geotech: Ryzuk Geotechnical(Matt Muller or James Russel) â #250-475-3131
- Pocket Doors:Cavity Sliders
- Auction House:Able Auctions
S.I.P. Suppliers:
Donnie Musgrave Dream Home Fencing:
Grove cedar. Tina or Tut. Grade 1 cedar @ 8 or 10ft.$1.95/ft 1x6 Channel (4.75" effective)
$1.45/ft 1x6 Straight-cut
Available in April.
Building Scheme message to Developer:
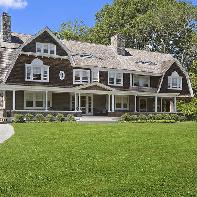
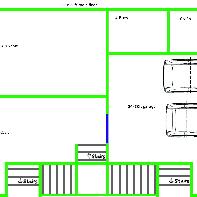
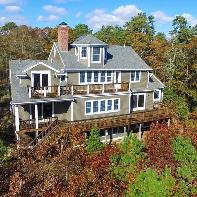
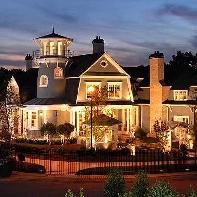
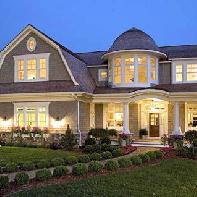
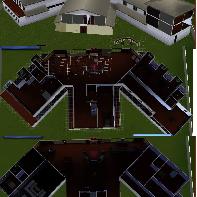
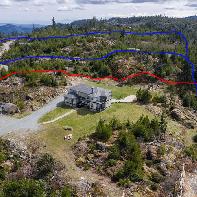
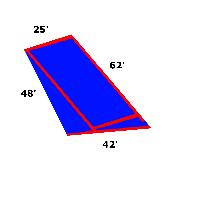
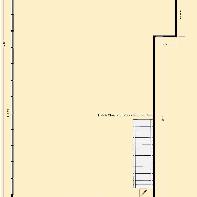
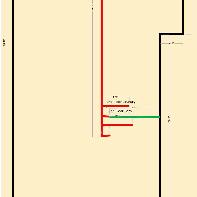
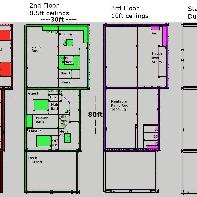
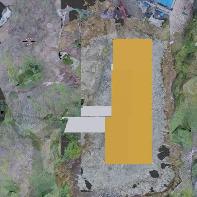
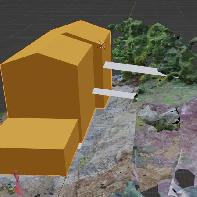
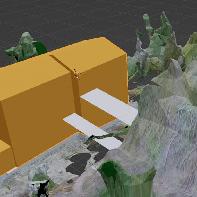
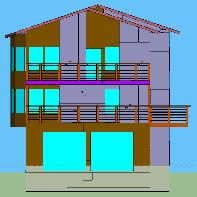
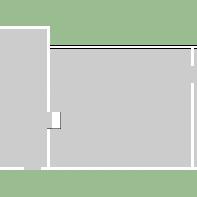
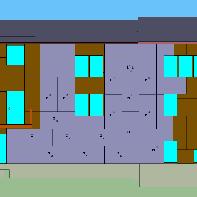
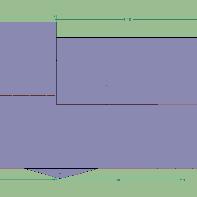
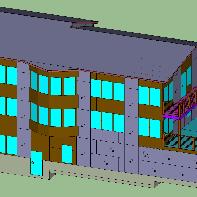
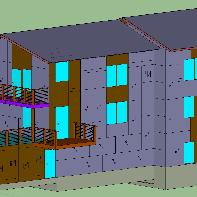
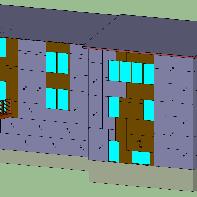
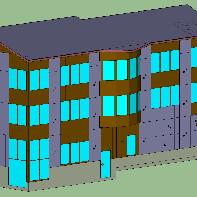
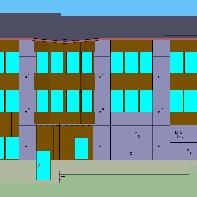
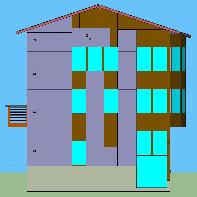
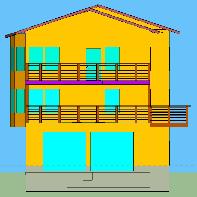
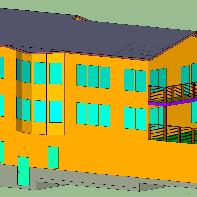
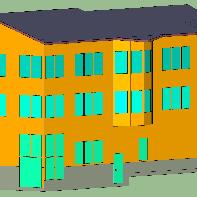
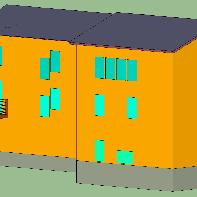
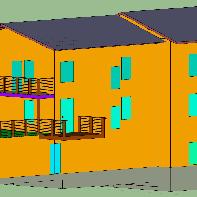
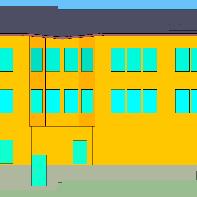
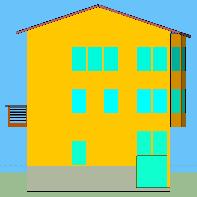
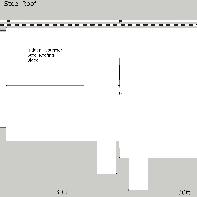
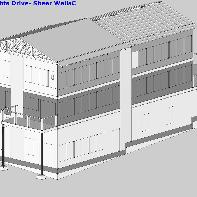
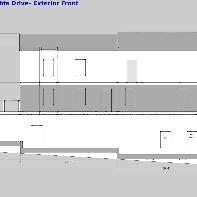
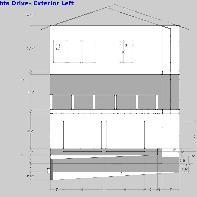
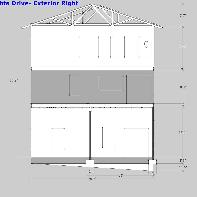
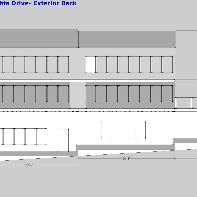
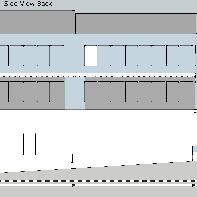
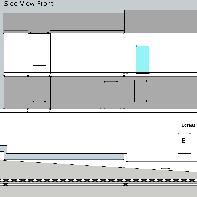
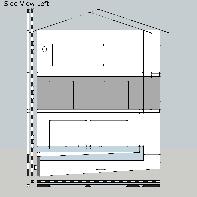
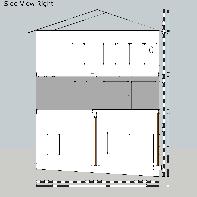
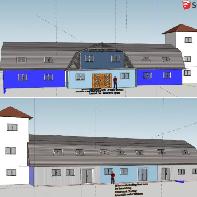
Although I have picked a simpler design of the house, it will be large, and impressive. As the currently cleared building site provides privacy from the road, I plan to utilize this suggested spot. 3 stories, 10-foot ceilings. 4100 sqft with a 1600sqft main floor. The footprint would extend 80 ft long, with 30 ft wide on the Eastern side, and 20 ft wide on the western, staggering the roofline as indicated (Pic) Under the 10.5m height limit. Many, large full-height South-East facing windows take advantage of the view. The Exterior would be will 1x6 cedar planking, lacquered(for durability + long-term beauty).Supplemented with river rock covering the very minimal amount of exposed foundation. By favoring quality, properly preserved, natural exterior materials (Cedar+Rock) very Limited amounts of paint will be required on the exterior to blend the natural beauty. Cement Board+Baton will complete the envelope below the roof peaks. Artificial rock exterior around the South-Eastern Windows. Metal roofing (with hidden fasteners) will provide durability since tall needle-shedding trees surround the house. My ambitious plan is to complete the lockup stage, within 3 to 6 months.The main house will incorporate an enclosed two-car garage where I will put all construction materials and vehicles. (Pic) I am planning minimal excavation, as the blasted-rock building site is well situated and my preliminary geotechnical advice indicates heavy Compaction is all that is required. (Pic)
I'd like to keep the lots as natural as possible, and not disturb the beautiful trees.
On the road-facing hill, I plan a gentle pathway with newly planted local flowers+trees meandering up to the second and third floors. Garage access would be provided around the north side of the property.
In the future, long after the primary house is fully complete, I plan to build a second, smaller single-family dwelling at the bottom of the lot, accessed off of the lower road. (Pic)
When my offer is accepted, I can submit detailed building plans for Plan Approval.
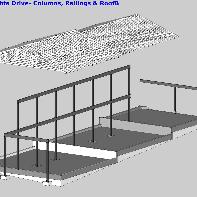
On the lower part of the lot, I plan a solar system with a beautiful pergola providing shade. Out of View from all neighbours+roads. (Pic)
All The Steps:
Before getting possession:----------------------
Hire Engineer/draftsperson /architect Company. Â They will need a site survey
Submit the plan to CVRD for a building permit.
(Permit costs based on a % of the completed project. An approximation is OK.
You have 2 years to complete but can apply for an extension.
Call BCHydro, arrange a power pole.
Get Construction Insurance.
Purchase Excavator, 200A Panel. Storage Trailer. Borrow Generator
Get Temporary Trailer Ready.
Pack Tattersall into storage Trailer
Day #1-5
--------
Run BChydro to the new pole next to the well. Â Trevor to quickly install the meter. Small Panel, A few plugs, Electric Car Charger.
Build Pumphouse:
100sqft. x 9ft high. (confirm Max)
Sleeping Cot for emergencies.
Underground Pipe for Electrical to House site.
Hinged / Liftable Roof.
Filteration System.
Cistern on top of peak.
1.5 to 2HP pump.
Day #5-60
---------
Excavation.
Foundations. Build your forms and cribbing (rebar). Inspection. Electrical+Sewer pipes installed. Pour Concrete.
Backfill and Compact.
Vapor/gas barrier and insulation under slab. Inspection. Pour Slab
Frame away. Exterior walls a week after pouring. So first Floor Only
Wait 28 days, Second Floor, Third Floor,
Sheeting,
Steel Roof.
Framing inspection.
Day #60-180
---------
Building Wrap (Tyvek), windows and doors, flashing. Inspection.
Siding (Cedar 1x6 or Hardiboard).
Rough-in plumbing. Inspection.
Rough-in wiring. Inspection.
Active Exhaust System
Insulation (purchase Spray Foam Machine and Poly+Iso)
Drywall/paint.
Flooring.
Heating: Heat Pump, baseboard, and Steam Fireplace
Doors+Trim.
Final inspection.
Occupancy permit.
Home Owner Insurance
Since under Home Owner Builder Program, no New home warranty.
Extras
---------
Solar: 20KW on Pergola
Hot tub.
Pathway down lot to Bottom
Future:
------
Guest House at bottom of the property.
Pool
Jonathan (Structural Engineer) Changes:
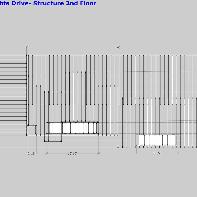
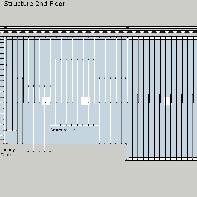
2nd Floor: Straighten Wall Between Bedrooms. Cheaper BeamsSheerwall on West of Bay window is thinner then the other 3
Foundation doesn't Step up to match grade
Make foundation stairs easier
Jag in Foundation Wall. Make flush for ease?
Garage: Extra Post to save large beam
Basement Squite North+East Corner in Suite: No Post
windows must be 2ft off floor. Confirm floor heights.
Jonathan (Structural Engineer) Questions:
Which joists rest on load bearing walls, and which rest on brackets?Small Crooked "jag" in south foundation wall where the main structure swaps from one side of the foundation to the other: Make consistant.
Do A35 Brackets only go on the Shear walls ?
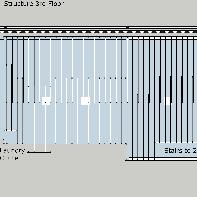
Draft Plans reveal different strapping between floors 1+2 and 2+3. What are the details?
For the #4 U-BARS on each side of the Anchor rods, do we just cut+cend 24" pieces into a loop, or are these purchased seperately?
Which brackets are used for the Sheerwall hold downs between floors?
Where are coil straps placed? (Veritically, and Horizontally (S1.02 Detail #4)
Can we use Any of these brackets as a substitute?
$27 Simpson Strong Tie HTT22s
$25 https://www.homedepot.com/p/Simpson-Strong-Tie-URFP-10-5-8-in-x-6-1-4-in-Universal-Retro-Foundation-Plate-with-Screws-URFP-SDS3/301443251
Confirming:
All Joists must line up with Sheerwalls (S1.02 Detail #9)Only the center spine sheerwall on the is double sided
Bay Window, Window-spacing is jsut slightly off
1/2 x 8" Anchor Bolts every 4ft unless a sheerwall. Estimate: 40
